
Every dog owner knows that peanut butter is practically irresistible to our furry friends. That magical moment when you shake the jar is met with wagging tails and hopeful eyes—so why not turn that delight into a healthy, homemade snack? These Crunchy Peanut Butter Training Treats are crafted with wholesome ingredients and baked into perfectly-sized nuggets ideal for training, rewarding, or just showing some love.
I recently made a big batch using my silicone mold, and the results were stellar: neat, uniform treats that hold up well in pockets and pouches without crumbling or leaving oily residue. But the best part? Watching my two Dalmatians instantly perk up, eyes locked, awaiting their next treat. These are not just treats—they’re tiny moments of shared happiness.
Why I Make Homemade Training Treats
Store-bought training treats can be convenient, but many contain unwanted additives—fillers, preservatives, artificial flavors, or unhealthy fats. Even good options can be too large, greasy, or prone to crumbling at the wrong moment. By baking my own, I control every ingredient and create a training tool that’s reliable, nutritious, and free from extras.
These treats are clean, compact, and consistent in size—perfect for rewarding multiple times without overfilling your dog’s calorie intake. Plus, the process has become a comforting kitchen ritual. From mixing ingredients to baking them into perfect bites, it’s a peaceful, rewarding experience that deepens my bond with my dogs.
Ingredients That Work (and Why)
This recipe uses simple pantry staples to create treats that are healthy, flavorful, and easy to customize:
- 1 cup natural peanut butter (unsalted, unsweetened, and xylitol-free): provides protein, healthy fats, and irresistible taste
- 1 large egg: binds the dough and adds additional protein
- 2 tbsp unsweetened applesauce or mashed banana: adds moisture and a subtle sweetness
- ¼ cup water: adjusts consistency
- 1½ cups oat flour: gentle on sensitive stomachs and helps form the base
- ½ cup whole-wheat flour (optional): adds structure
- Pinch of ground cinnamon (optional): brings aroma and adds health benefits
These ingredients are chosen for both nutrition and texture. Oat flour ensures digestibility, applesauce or banana adds natural flavor without sugar, and peanut butter makes every bite enticing. The optional grains and spices can be swapped or omitted based on dietary needs or preferences.
Tools You’ll Need
To streamline the process and achieve consistently sized treats, I rely on:
- A silicone treat mold (mini-cavity style for uniformity)
- A sturdy baking sheet or tray for support
- Mixing tools like a bowl, spatula, and measuring cups
- Optionally, a dough scraper or butter knife to smooth tops
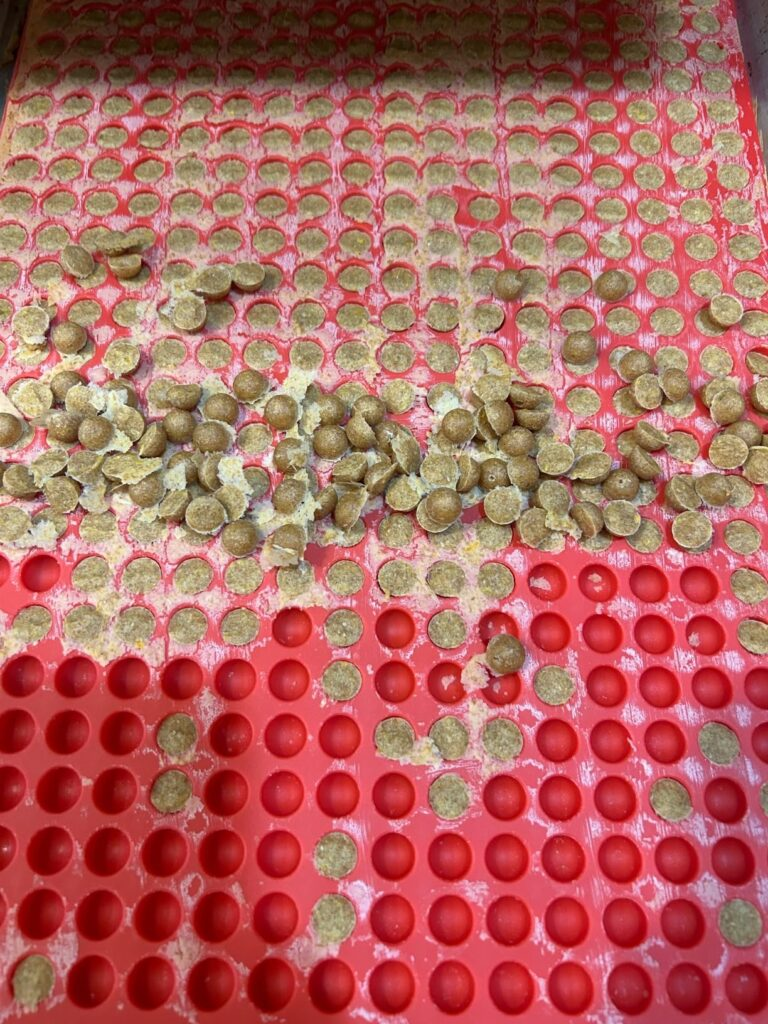
The silicone mold is a transformative tool—it makes pressing in dough quick and tidy, ensures uniform baking, and pops treats out easily once cooled. Investing in one is a small step that leads to big results.
Step-by-Step Instructions
1. Preheat & Prep
Set your oven to 325 °F (165 °C). Place the silicone mold on a baking tray and lightly grease if it tends to cling. Preheating ensures even baking and a crunchy exterior.
2. Mix the Dough
Combine peanut butter, egg, and applesauce (or banana) until smooth. Stir in oat and optional wheat flour plus cinnamon. Gradually add water until the dough is pliable—not sticky nor dry. This balance is key to shaping crisp, consistent treats.
3. Fill the Mold
Press the dough firmly into each cavity, filling them evenly. Smooth off the top to ensure treats bake uniformly. The first time takes patience—but once you get the groove, it becomes a meditative, satisfying process.
4. Bake
Bake for 22–30 minutes, depending on thickness and oven heat. When the timer dings, leave the tray in the turned-off oven for an additional 30–60 minutes to dehydrate the treats further. This gives them a sturdier crunch that lasts.
5. Cool & Release
Allow the treats to cool completely before popping them out. They should release cleanly; if they stick, run the tray back in the warm oven briefly. Transfer treats to a wire rack to finish cooling and firming up.
Storage & Shelf Life
Once cooled, your crunchy bites can be stored in several ways:
- Room temperature: Airtight container for up to 2 weeks, perfect for quick access
- Refrigerator: Extends freshness to 3 weeks
- Freezer: Thaw and enjoy over 3 months—just grab individually as needed
I keep one in the kitchen, one in the car, and a pouch in my walking bag. They hold up beautifully—no grease stains, no crumbs, and they stay crisp until eaten.
Customizations to Try
This recipe is endlessly adaptable to suit your dog’s tastes and needs:
- Swap applesauce for pumpkin puree to support digestion
- Add mashed sweet potato for extra fiber and flavor
- Stir in parsley or mint for fresh breath
- Mix in flaxseed or chia for omega-3 benefits
- Blend in finely grated carrot or zucchini for veggie enrichment
- Try a bit of shredded cheese for a cheesy twist
Avoid anything toxic—onions, garlic, raisins, nutmeg, chocolate, or xylitol. When in doubt, check with your vet.
Perfect for Training & Travel
These bite-sized treats are built for convenience. They’re pocket-friendly, mess-free, and the perfect size for reinforcing training behaviors without overfeeding. Whether you’re working on “sit,” “come,” or calm behavior at the vet, these treats maintain their shape and appeal.
Their consistent size and texture make them ideal for travel, too—no softening in heat, no crumbs in bags, and no greasy hands. They’ve saved the day more than once when I needed a quick distraction or reward on-the-go.
Troubleshooting Common Issues
- Treats sticking? Either spray the mold lightly or cool it fully before removal. A short warm-up in the off-oven can also help.
- Dough too sticky? Add oat or wheat flour by the tablespoon until manageable.
- Dough too dry? Add water or applesauce bit by bit until it binds.
- Uneven baking? Rotate the tray halfway through and ensure dough is pressed evenly into each cavity.
Scaling the Recipe
Need more treats? Halve the recipe for a small batch, double it for full mold trays—flexible and forgiving. Want to bake once and stash treats for weeks? Go big! Just refrigerate or freeze the dough if using later.
Fun Kitchen Ritual
Baking these treats has become our most-loved kitchen ritual. The satin texture of the dough, the aroma of peanut butter, the click of cavities filling—it’s calming. Best of all, the bond I share with my dogs as they wait expectantly by my side makes it worthwhile every time.
Presentation & Gifting
These treats are great for gifting! Package them in:
- Mason jars with ribbons and a dog-themed label
- Paper baggie with a handwritten note
- Reusable tins decorated with stickers
Include ingredients for transparency—perfect for pups with allergies or dietary sensitivities.
Creative Uses for These Treats
- Puzzle toys: Great for Kongs or snuffle mats
- Scavenger hunts: Hide a few, watch your dog forage
- Behavior reinforcement: Ideal for calm walking or vet visits
- Quiet distractions: Handy during grooming or when focus is needed
Nutrition Snapshot
These treats are supplemental—designed to complement your dog’s main diet, not replace it. Each mini-treat is small (2–4 calories), making them safe for frequent use during training without guilt. Their nutrient profile includes protein from peanut butter and egg, fiber from oat flour, and natural sweetness.
Seasonal Flavor Ideas
Add festive flair throughout the year:
- Fall: Pumpkin and pumpkin spice
- Winter: Unsweetened dried cranberry bits
- Spring: Fresh mint or parsley
- Summer: Mashed banana and shredded coconut
Same dough—endless variations!
Final Thoughts
These Crunchy Peanut Butter Training Treats are practical, customizable, and beloved. They enrich your training routine, simplify treat management, and give you peace of mind knowing exactly what your dog is eating. Plus, the kitchen time is enjoyable and rewarding for both pet and parent. Treat yourself—and your dogs—to something delicious and wholesome today!
Recipe Card:
Crunchy Peanut Butter Dog Training Treats
Ingredients
Equipment
Method
- Preheat & PrepSet your oven to 325 °F (165 °C). Place the silicone mold on a baking tray and lightly grease if it tends to cling. Preheating ensures even baking and a crunchy exterior.
- Mix the DoughCombine peanut butter, egg, and applesauce (or banana) until smooth. Stir in oat and optional wheat flour plus cinnamon. Gradually add water until the dough is pliable—not sticky nor dry. This balance is key to shaping crisp, consistent treats.
- Fill the MoldPress the dough firmly into each cavity, filling them evenly. Smooth off the top to ensure treats bake uniformly. The first time takes patience—but once you get the groove, it becomes a meditative, satisfying process.
- BakeBake for 22–30 minutes, depending on thickness and oven heat. When the timer dings, leave the tray in the turned-off oven for an additional 30–60 minutes to dehydrate the treats further. This gives them a sturdier crunch that lasts.
- Cool & ReleaseAllow the treats to cool completely before popping them out. They should release cleanly; if they stick, run the tray back in the warm oven briefly. Transfer treats to a wire rack to finish cooling and firming up.
- Storage & Shelf LifeOnce cooled, your crunchy bites can be stored in several ways:
Notes

Hey there! I’m Steffan, the food lover and creator behind Biteblis.com. Thank you for stopping by! I hope you’ll explore, get inspired, and find something delicious to cook up at home. My mission is simple: to spread joy through food, one tasty bite at a time. For more info, visit About Us.