Ingredients
Method
- Prep the Carrots
- Start by peeling and finely grating your carrots. The finer the shred, the better the mixture will hold together in the dough. You can use a handheld grater or a food processor—just be sure to avoid large chunks that could create uneven textures or make shaping difficult.
- For convenience, baby carrots work just as well as regular ones—just make sure they’re also finely grated. The smaller the pieces, the better your chews will bind and bake evenly.
- Mix Everything Together
- In a medium-sized mixing bowl, combine the grated carrots, pumpkin purée, and olive oil. Stir until you get a thick, sticky mixture that holds together when scooped. The dough should be soft but not overly wet.
- If the mixture feels too loose, let it sit for 5–10 minutes. Carrots and pumpkin will slowly release moisture and firm up the dough naturally without needing to add any extra flour or filler.
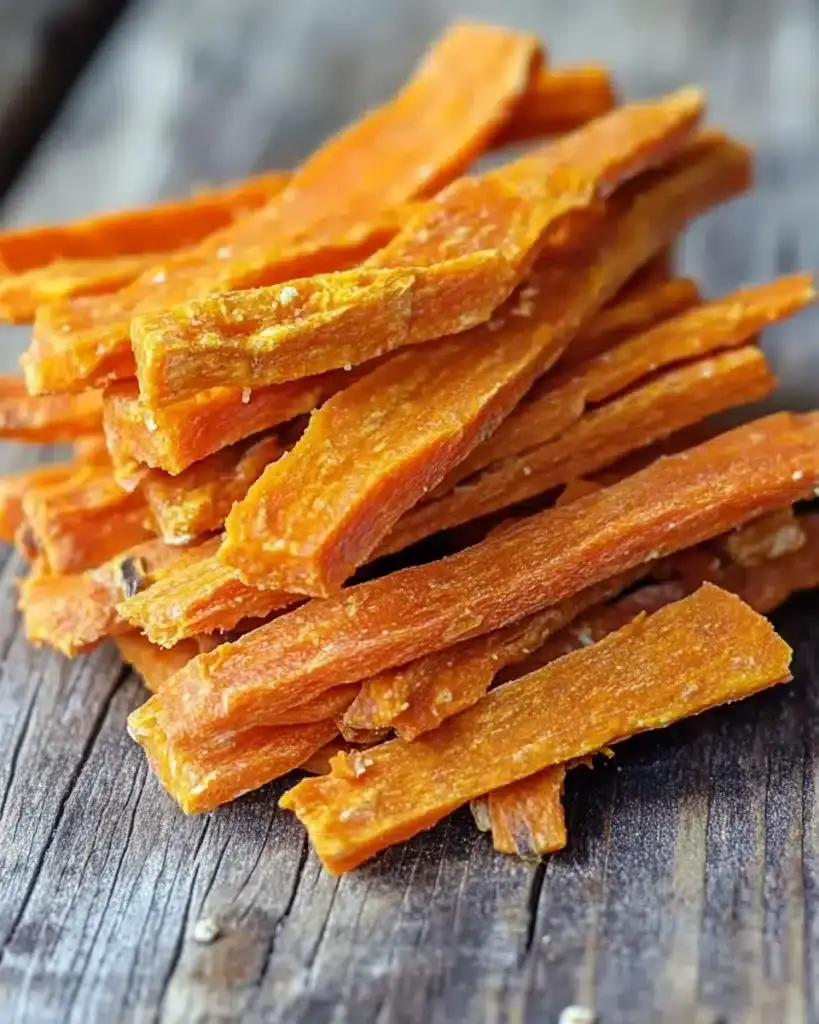
- Shape the Chews
- Scoop out small portions using a spoon or your hands and form them into your preferred shape—think log rolls, flattened ovals, or bite-sized nuggets. For larger breeds, longer sticks work well. For toy breeds or training rewards, smaller pieces are ideal.
- If you’re feeling creative, press the dough into silicone molds or use cookie cutters for fun shapes like bones or hearts. Just make sure the pieces are uniform in size so they bake evenly.
- Bake Low and Slow
- Preheat your oven to 250°F (120°C) and line a baking tray with parchment paper. Spread the chews out evenly, giving them a little space between each one to allow airflow for better drying.
- Bake for 2 to 2½ hours, flipping the treats halfway through. The goal is to gently dehydrate the chews—not to brown them—so they turn out firm on the outside and chewy on the inside. Keep an eye on them during the final 30 minutes for best results.
- Cool and Store
- Once out of the oven, place the chews on a wire rack to cool completely. As they cool, they’ll firm up slightly more and become that satisfying chewy texture your pup will adore.
- Only store the treats once fully cooled. If you seal them while warm, moisture can build up and cause them to soften or spoil faster.
Notes
🧊 Storage Tips
Store the cooled chews in an airtight container at room temperature for up to 1 week. For longer storage, refrigerate for up to 2 weeks, or freeze for up to 3 months. You can thaw the frozen chews overnight in the fridge or offer one chilled straight from the freezer as a fun, cooling treat on hot days. 🐕 Feeding Guidelines
These chews are meant to be a treat, not a meal replacement. Because they’re high in fiber, moderation is key—especially if your dog isn’t used to pumpkin or carrots. Small dogs: ½ to 1 chew daily Medium to large dogs: 1–2 chews daily Introduce new treats slowly and always monitor your pet, especially the first time trying something new.